It’s been a while I have not been able to write a new tutorial, even though I coded the application with the intention of posting it around New Year’s; Its just been a crazy month at work. A similar small application showing RESTFul techniques with PHP and jQuery AJAX is already here. Even if the apps look similar this one uses the defacto enterprise standard technologies of today and walks you through every bit step by step. I will show you the simplest and most effective way to develop CRUD apps using Spring Boot & Hibernate as ORM. This will lay a foundation for you to build amazing apps, much more complex by learning the basics here.
What you need to follow along:
- A good Java IDE (IntelliJ Idea is the IDE of my choice, you can however choose Eclipse or Netbeans)
And that’s it (I assume if you have a Java IDE then obviously JDK is installed).
Spring Boot takes away lot of pain out of Java web development, no more messy XML configurations, not a lot of boiler-plate web context configurations to get up and running. This is the greatest strength of Spring Boot which enables quick application development and the time needed from conceptualization to proof of concept is minimal.
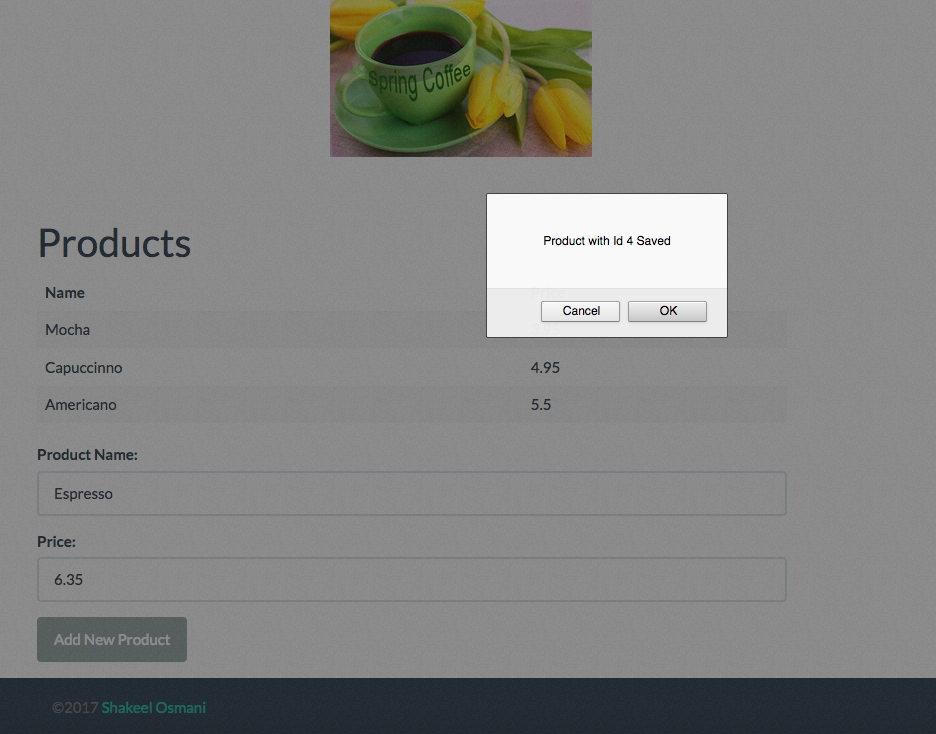
Before we begin a quick peek at what we are trying to build:

Well you see a not so impressive looking page 😀
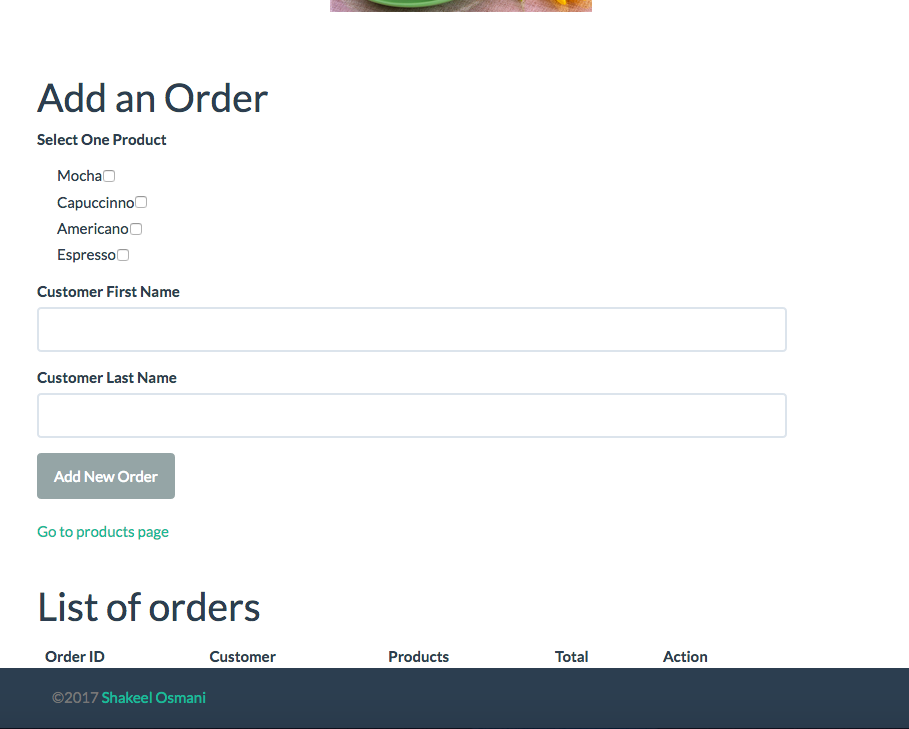
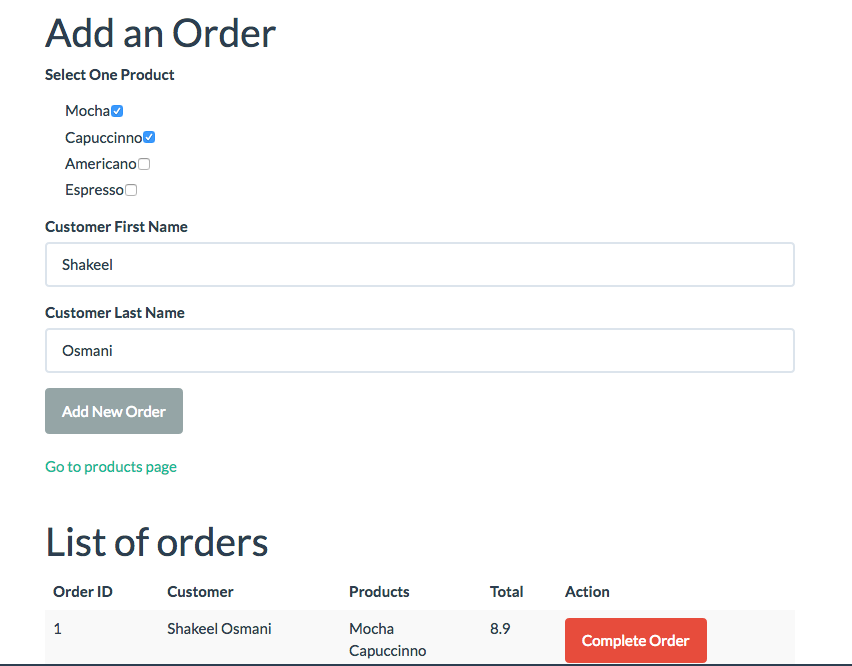
The idea behind the application is what we should be focused on and that’s gonna teach us Spring Boot and Hibernate easily and beautifully. Just for the sake of reference this is our fake Spring Coffee shop where customers walk in and we can create a catalog of products then that shows up in the order management screen where we can add a customer and her/his order. Once the order is completed we can mark the order complete in the order management screen which essentially deletes it, nothing fancy.
Steps:
-
- Fire up your IDE no matter which one you are using, there will be an option in all of them to create a Maven application. We will use Maven as it is the easiest tool to add all the dependencies we need. As you might be aware of Maven projects, each of them will have a POM.xml file , that’s really all the XML file we need for this project(I promise you! I know how much Java developers hate XML)
- Now our POM.xml should look like the following:
<?xml version="1.0" encoding="UTF-8"?>
<project xmlns="http://maven.apache.org/POM/4.0.0" xmlns:xsi="http://www.w3.org/2001/XMLSchema-instance" xsi:schemaLocation="http://maven.apache.org/POM/4.0.0 http://maven.apache.org/xsd/maven-4.0.0.xsd">
	<modelVersion>4.0.0</modelVersion>

	<groupId>com.shakeel</groupId>
	<artifactId>springcoffeeshop</artifactId>
	<version>0.0.1-SNAPSHOT</version>
	<packaging>war</packaging>

	<name>springcoffeeshop</name>
	<description>Demo project for Spring Boot</description>

	<parent>
		<groupId>org.springframework.boot</groupId>
		<artifactId>spring-boot-starter-parent</artifactId>
		<version>1.4.3.RELEASE</version>
		<relativePath/> <!-- lookup parent from repository -->
	</parent>

	<properties>
		<project.build.sourceEncoding>UTF-8</project.build.sourceEncoding>
		<project.reporting.outputEncoding>UTF-8</project.reporting.outputEncoding>
		<java.version>1.8</java.version>
	</properties>

	<dependencies>
		<dependency>
			<groupId>org.springframework.boot</groupId>
			<artifactId>spring-boot-starter-data-jpa</artifactId>
		</dependency>
		<dependency>
			<groupId>org.springframework.boot</groupId>
			<artifactId>spring-boot-starter-thymeleaf</artifactId>
		</dependency>
		<dependency>
			<groupId>org.springframework.boot</groupId>
			<artifactId>spring-boot-starter-web</artifactId>
		</dependency>

		<dependency>
			<groupId>com.h2database</groupId>
			<artifactId>h2</artifactId>
		</dependency>

		<dependency>
			<groupId>org.springframework.boot</groupId>
			<artifactId>spring-boot-starter-test</artifactId>
			<scope>test</scope>
		</dependency>
	</dependencies>

	<build>
		<plugins>
			<plugin>
				<groupId>org.springframework.boot</groupId>
				<artifactId>spring-boot-maven-plugin</artifactId>
			</plugin>
		</plugins>
	</build>

</project>
-
- Let’s go through one by one each of them. As you see its a simple POM file which says we are using Java 1.8, Spring Boot Starter Parent 1.43. Then we have reference to Spring JPA and also Spring web. Another good thing is I am using Thymeleaf template engine, which is cool to learn 😛 . I am using the in memory H2 database, no matter what database we use; the code remains same as ORM is used. Only we have to add database connection properties for different database types.
- The next step is to define our domain models which are nothing but POJOs or Plain Old Java Objects. These are defined as simple Java classes. I have put them in the Model package and we have 3 of them: Product, Customer & CustomerOrder. One caveat do not name a POJO class “order” if you want to take advantage of Automatic database mapping as Order is an SQL keyword (do not blame me I did not warn ! 😛 ) and it will break the application.
- Let us look at one of them as the rest of them are similar.
package com.shakeel.model;

import javax.persistence.*;

/**
 * Created by shakeelosmani on 24/12/16.
 */

@Entity
public class Product {

    @Id
    @GeneratedValue(strategy = GenerationType.AUTO)

    private Long productId;

    private String productName;

    private Double productPrice;

    public Long getProductId() {
        return productId;
    }

    public void setProductId(Long productId) {
        productId = productId;
    }

    public String getProductName() {
        return productName;
    }

    public void setProductName(String productName) {
        this.productName = productName;
    }

    public Double getProductPrice() {
        return productPrice;
    }

    public void setProductPrice(Double productPrice) {
        this.productPrice = productPrice;
    }

}
-
- See how simple it is to define a model object that will map to a persistent database. Here we annotate the whole class with @Entity annotation which is defined in javax.persistence and that tells it is a Persistent POJO. The next annotation @Id means it is a primary key in the table. The @GeneratedValue annotation tells it is to be generated and has to be auto generated. Pretty self explanatory code.
- I wanted to show a part of the CustomerOrder POJO as it has a foreign key defined
@ManyToMany(cascade = {CascadeType.PERSIST, CascadeType.MERGE} , fetch = FetchType.LAZY)
    @JoinTable(name = "ORDER_PRODUCTS", joinColumns = {@JoinColumn(name = "ORDER_ID")},inverseJoinColumns = {@JoinColumn(name = "PRODUCT_ID")})
    private Set<Product> products;

@OneToOne
    private Customer customer;
-
- See how the set of products in the order table has a Many to Many relationship, where as the customer has One to One relationship. This is easy to explain, an Order can have many Products, and many Orders can have a Product, thus there is a clear many to many relationship. Also we set the CascadeType to Persist and Merge on Product because when we want to delete a customer order we do want it to be detached from the Actual customer or actual Product. Else what would happen is along with the Order being deleted the Customer and also the Product will get deleted from the database. Which obviously is not the acceptable behavior. A customer order is a Transient data and we want that to go away, in our scenario at least it may be different in real world of business.
- So since our design pattern is creating a MVC design, we have looked at the Models and now lets look at the controllers, we will look at one of them and the other one is quite similar. Keep in mind to do the database operations on the Model classes and its data the controller depends on a Repository service layer which is inside the repository folder and we will look into them in this section as well.Let’s first look at the simple ProductsController class.
package com.shakeel.controller;

import com.shakeel.model.Product;
import com.shakeel.repository.ProductRepository;
import org.springframework.beans.factory.annotation.Autowired;
import org.springframework.stereotype.Controller;
import org.springframework.ui.Model;
import org.springframework.web.bind.annotation.*;

/**
 * Created by shakeelosmani on 24/12/16.
 */

@Controller
public class ProductsController {

    @Autowired
    ProductRepository productRepository;

    @RequestMapping("/product/{id}")
    public String product(@PathVariable Long id, Model model){
        model.addAttribute("product", productRepository.findOne(id));
        return "product";
    }

    @RequestMapping(value = "/products",method = RequestMethod.GET)
    public String productsList(Model model){
        model.addAttribute("products", productRepository.findAll());
        return "products";
    }

    @RequestMapping(value = "/saveproduct", method = RequestMethod.POST)
    @ResponseBody
    public String saveProduct(@RequestBody Product product) {
        productRepository.save(product);
        return product.getProductId().toString();
    }

}
-
- It is again a simple POJO class and spring web MVC gives us the @Controller annotation that identifies this POJO as a controller and with that comes @RequestMapping annotation which allows to define the HTTP route and also HTTP Verb on each method. This makes it beautiful as well as RESTFul (what more do we need 😀 ) If you compare this with ASP.net MVC it is so similar in terms of ideas and as well as implementation. The @ResponseBody annotation is another awesome milestone that makes the response to send to be simple String values or could be XML and JSON; rather than the whole object or a template page.
- @AutoWired is another interesting thing in fact if Spring framework became so popular the idea behind this annotation played a major role. Do you remember how many times in our java code we have to do things like import shakeel.repository.productrepository.*; and then ProductRepository pr = new ProductRepository(); This used to tightly couple two classes. Then the idea of Dependency Injection came into picture. Where a DI provider at run time makes a object available {Literally injects 😀 }. The @Autowired annotation does that for you. Now lets look at the ProductRepository Interface
package com.shakeel.repository;

import com.shakeel.model.Product;
import org.springframework.data.repository.CrudRepository;

/**
 * Created by shakeelosmani on 24/12/16.
 */
public interface ProductRepository extends CrudRepository<Product, Long> {

}
-
- It is indeed amazing how small this interface is but how much value it is providing to the project. That is possible because this interface extends the CrudRepository I urge you to go and read about this interface here.You will see the methods we are using like findOne(), delete() etc are all defined in this interface and that’s why we do not have to write implementation for these CRUD methods.
- Code from the OrderController shows how we take advantage of the CRUD methods as below: we call the delete method passing an Id and this is mapped to the removeorder route. And the Id is passed to the controller from jQuery ajax which the controller can see in the @RequestParam
@RequestMapping(value = "/removeorder", method = RequestMethod.POST)
    @ResponseBody
    public String removeOrder(@RequestParam Long Id){
        orderRepository.delete(Id);
        return Id.toString();
    }
-
- Also lets see the corresponding compeleteorder function that is called from jQuery AJAX
$('.delete-order').on("click", function(e){
            e.preventDefault();

            if(confirm("Are you sure the order is complete?")){
                var Id = parseInt($(this).closest("td").attr("id"));

                $.ajax({
                    type:"POST",
                    url:"/removeorder",
                    data:{Id:Id},
                    success:function (data) {
                        $(".delete-order").closest("td#"+data).parent("tr").fadeOut("slow",function(){
                            $(".delete-order").closest("td#"+data).parent("tr").remove();
                        });
                    }
                });
            }

        });
-
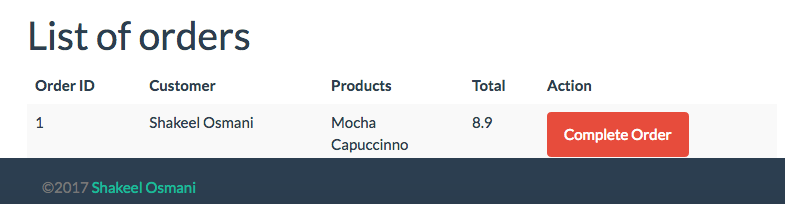
- The above example is a simple jQuery handler for a button click and in the click of the button it picks up the Id of the button being clicked on the DOM. The Id was generated from the Controller by adding a dynamic Id from the database thus this Id is the one that maps to the actual database, then we pass that Id and the controller removes it and we respond back with the removed Id to be doubly sure and once we get that back we use a little jQuery fade animation to remove the order table row from the DOM.
- Finally a little discussion on the Thymeleaf template engine. It has its quirks but it is beautiful as long as you use it correctly else it can be very frustrating. Lets look at the products.html page and the products table code that uses Thymeleaf to generate the dynamic table. You will see when the application is loaded first time in the run method of the spring main application I have two products hard coded as shown below:
@Override
    public void run(String... strings) throws Exception {

        Product mocha = new Product();
        mocha.setProductName("Mocha");
        mocha.setProductPrice(3.95);

        Product capuccinno = new Product();
        capuccinno.setProductName("Capuccinno");
        capuccinno.setProductPrice(4.95);

        productRepository.save(mocha);
        productRepository.save(capuccinno);

    }
-
- Now lets look at the Thymeleaf template code how that reads these model objects loops over them. Mind you they are sent from the products controller.
<table class="table table-striped table-hover">
<thead>
<tr>
<th>Name</th>
<th>Price</th>
</tr>
</thead>
<tbody>
<tr th:each="product : ${products}">
<td th:text="${product.productName}"></td>
<td th:text="${product.productPrice}"></td>
</tr>
</tbody>
</table>
-
- We can see we use the Thymeleaf dialect to consume the model data from the controller and use the th:each construct to loop over which is a foreach loop
- I guess that’s almost a complete coverage of everything being done. The complete source code of the project is available in github at the following URL:
- GitHub SpringCoffeeshop Download By visiting the link
Some more images:

I hope this was an enjoyable and learning experience. If you think something should be improved hit me up in the comments section. Also if you run into some problem you can ask me questions and I will do my best to reply to your queries as soon as possible.
Happy coding 🙂
Shakeel
